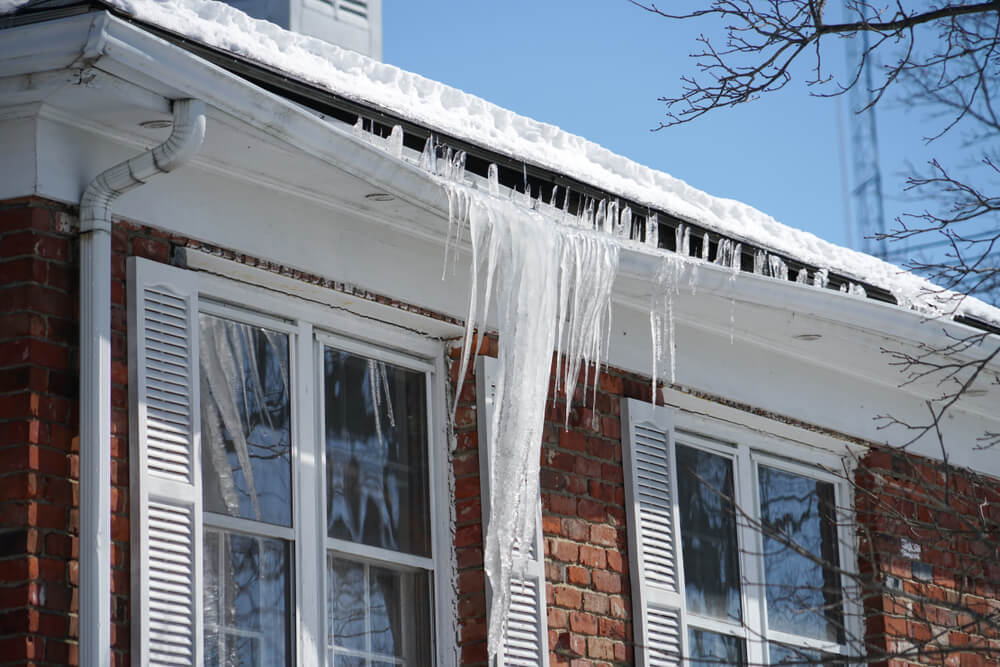
Ice dams are a cold-weather challenge that can quickly escalate into a homeowner’s nightmare. These icy buildups along your roof’s edge might look harmless, but they can lead to leaks, damaged walls, soggy insulation, and costly repairs. If you’ve faced the consequences of an ice dam before, you know how critical it is to address them before they spiral out of control.
This guide explores practical methods to remove ice dams safely and strategies to prevent their recurrence, saving you time and money in the long run.
What Causes Ice Dams?
Ice dams occur due to temperature differences on your roof. Warm air escaping from your home causes snow on the roof to melt, but as the water flows down, it refreezes along the colder edges. Over time, this creates a barrier that prevents additional melting snow from draining, leading to water buildup and potential leaks.
How to Remove Ice Dams on Your Roof
Removing ice dams safely requires a methodical approach. Avoid quick fixes like using a hammer or sharp tools, as they can damage shingles and worsen the problem. Here are three proven techniques:
1. Clear Snow with a Roof Rake
Using a roof rake to remove snow is one of the simplest ways to prevent and manage ice dams. By clearing the snow, you eliminate the source of water that refreezes to form ice dams. Work from the ground, pulling snow downward gently to avoid damaging your shingles.
2. Apply Calcium Chloride
Calcium chloride is a safe and effective ice-melting product for roofs. Fill a sock or pantyhose with the compound and place it across the ice dam. This directs the melting process, creating channels for water to flow off the roof. Unlike rock salt, calcium chloride won’t corrode your roof or gutters.
3. Hire Professionals for Steam Removal
For larger or more persistent ice dams, steam removal is the safest and most effective method. Professionals use steam machines to melt the ice without damaging your roof. If water is already leaking into your home, calling in experts can prevent further damage.
Preventing Ice Dams for Good
Knowing how to remove ice dams is helpful, but prevention is even better. Taking steps to address the root causes can save you from the hassle and expense of dealing with them each winter.
Improve Attic Insulation
Heat escaping from your attic is a primary cause of ice dams. Adding insulation and sealing gaps can prevent uneven roof temperatures, reducing the likelihood of ice dams forming.
Ensure Proper Ventilation
Ventilation is critical to maintaining a consistent roof temperature. Attic vents should allow cold air to flow freely, preventing heat buildup that melts snow.
Install Protective Barriers
Consider installing an ice and water shield beneath your shingles, especially near the eaves. This acts as a waterproof layer, protecting your roof from water infiltration even if an ice dam forms.
Why You Should Act Quickly
Failing to remove ice dams promptly can lead to costly and long-term damage. Water seeping under your roof can cause mold, rot, and structural issues, turning a minor nuisance into a major problem. By acting swiftly and using the methods outlined here, you can mitigate the immediate risk and keep your home in top condition.
Final Thoughts

Understanding how to remove ice dams on your roof and prevent them from forming is key to avoiding winter damage. Regular maintenance, such as clearing snow and improving insulation, can keep your roof in good shape year-round. If you’re dealing with a stubborn ice dam, don’t hesitate to seek professional help to protect your home and prevent costly repairs.
Stay proactive, and you’ll enjoy a safer, worry-free winter. Contact Style Exteriors today for expert assistance in managing and preventing ice dams on your roof. We’re here to help protect your home from winter’s toughest challenges.